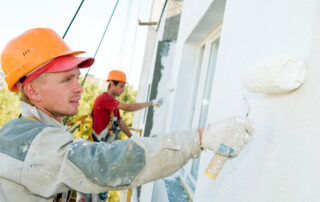
How To Fix The Peeling Paint On Your Home Interior in Peoria, AZ
Peeling paint on the interior walls of your home can be a frustrating and unsightly problem.
So, if you are set to fix the peeling paint on your home interior and currently looking for a guide to help you with this, here’s something you’ll find useful!
Here’s How To Fix The Peeling Paint On Your Home Interior.
1. Identify the Underlying Causes
Before anything else, the first step you should be doing in your quest to fix the peeling paint on your home interior would be to take a good look at the damage present, and ideally be able to identify the underlying causes of why it has happened.
Understanding why the paint is peeling on your home interior will help you how to best strategize your project, and how to avoid the problem from happening again.
Some of the most common causes of paint peeling are:
- Moisture: Excessive moisture in the walls can cause paint to peel. Check for leaks, condensation, or high humidity levels in the affected area.
- Poor Adhesion: Insufficient surface preparation, such as not priming or not cleaning the walls before painting, can lead to paint peeling.
Low-Quality Paint: Using low-quality or expired paint can result in premature peeling. Always invest in quality paint for a longer-lasting finish. - Temperature Fluctuations: Extreme temperature changes can cause paint to expand and contract, leading to peeling. Ensure your home is properly insulated to minimize this issue.
2. Gather Your Tools and Materials
After having a thorough inspection of the existing paint peeling problem on your home interior, and formulating a plan on how to best go through your reparation project, you’ll know want to gather the necessary tools and materials for your project.
To assist you, here is a list of materials you might need, and their functions:
- Paint Scraper: For removing affected areas with peeling paint.
- Sandpaper: To smooth the surface after scraping.
- Putty Knife: For applying patching compound.
- Patching Compound: To patch up any physical damage.
- Primer: Ensures proper adhesion of the new paint.
- High-Quality Paint: Choose a paint that suits your interior needs, such as water-based latex paint for most walls.
- Paintbrushes and Rollers: To apply the paint evenly.
- Painter’s Tape: To protect adjacent surfaces.
- Drop Cloths: To cover and protect your floors and necessary furniture from paint drips and spills.
3. Do Proper Surface Preparation
After making sure that you have all you need to proceed with your painting project, you’ll now want to move on to the next step: doing proper surface preparation.
You should already know by now that proper surface preparation is essential to ensuring a successful painting project, and neglecting this process will just lead you to abysmal results.
So, to properly prepare your surface, here’s what you will want to do:
- Remove Loose Paint: Use a paint scraper to gently remove any loose or peeling paint from the affected area. Be careful not to damage your interior surface.
- Sand the Surface: After scraping, sand the area to create a smooth and even surface. This helps the new paint adhere better. Use a fine-grit sandpaper for this purpose.
- Fill in Cracks and Holes: Inspect the walls for any cracks or holes. If there are any, patch them up with a patching compound and use a putty knife to ensure a smooth finish. Allow the compound to dry thoroughly, and then sand it down until it’s even with the wall.
- Clean the Surface: Before applying primer and paint, make sure the surface is clean and free of dust, dirt, and grease. You can do so with a brush and some form of detergent. Make sure to dry them properly.
- Apply Primer: Apply a coat of primer to the repaired area and any other spots that require it. Primer ensures better adhesion and uniform color when you apply the final paint coats – essentially preventing the chance for the initial peeling problem to resurface.
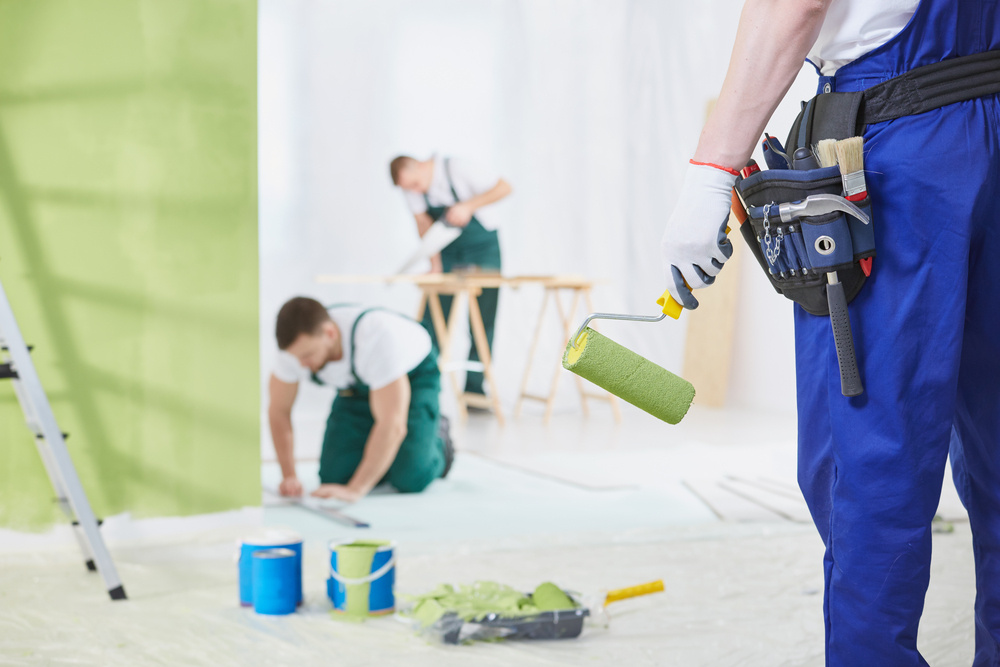
4. Applying Your Coat of Paint
Now, here comes the fun part – finally applying your fresh coat of paint onto the surface!
In doing this, you’ll want to adhere to a specific set of techniques to ensure a smooth and clean paint finish.
First, you’ll want to do an “M” or “W” pattern to paint your interior, to ensure that you’re not repeatedly painting on the same area and not allowing the initial coat to dry first.
Properly drying the initial coat of paint before adding a new layer is important, since this will also prevent signs of paint peeling.
Lastly, you’ll want to start painting at the top first, to ensure that paint drips won’t be a problem for you.
Doing the opposite gets these often inevitable paint drips flowing down your fresh coat of paint, essentially ruining it in the process.
On the other hand, painting from the top gets these drips to flow down surfaces you’ll eventually be painting over as you make your way down, which technically cancels out the initial drip problem!
If you are in Arizona and need a painter or painting contractor you can trust, contact Prime Painting at 602-902-1584 for a FREE Estimate today! Or book online!
Our team has over 380 5-Star Reviews!
Related: Do’s and Don’ts Of Painting A Small Bedroom in Phoenix, AZ
Questions To Ask Yourself In Buying Paint For Your Kitchen in Phoenix, AZ
